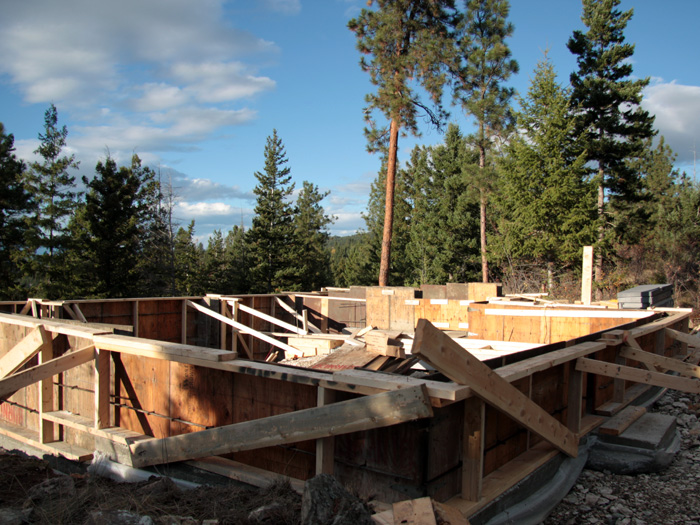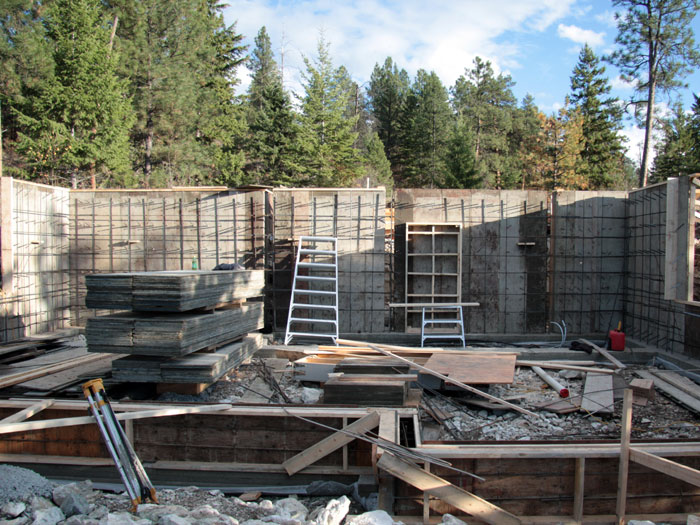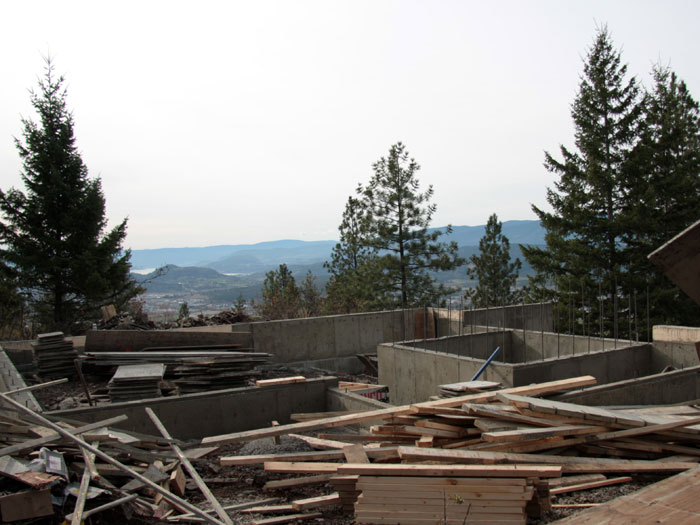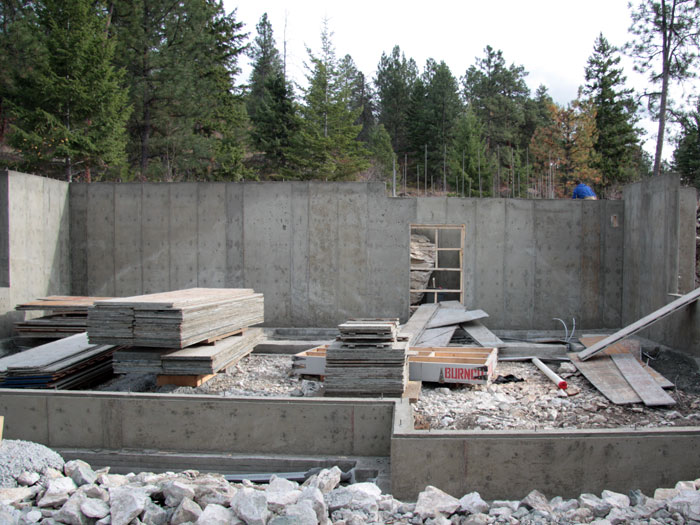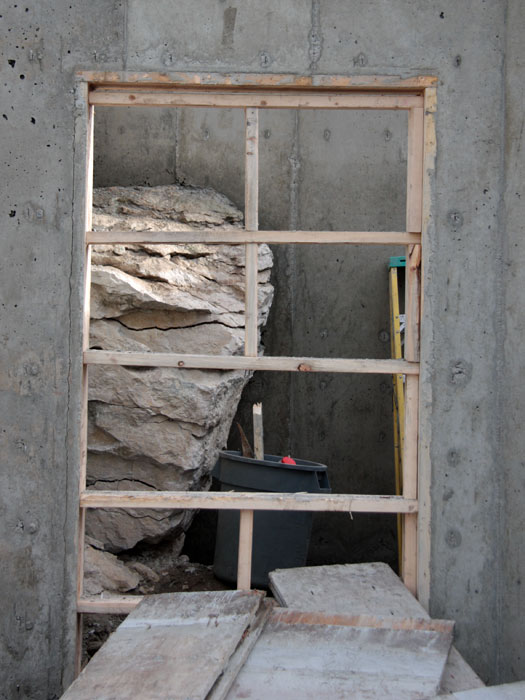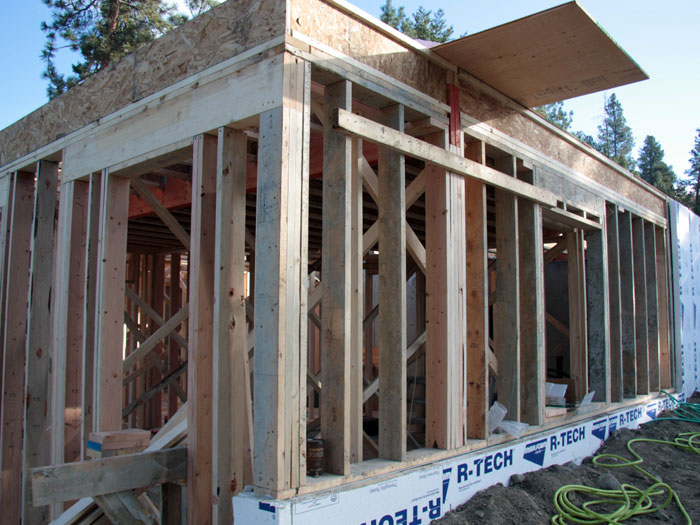
Nov 7 – Lower level exterior walls framed
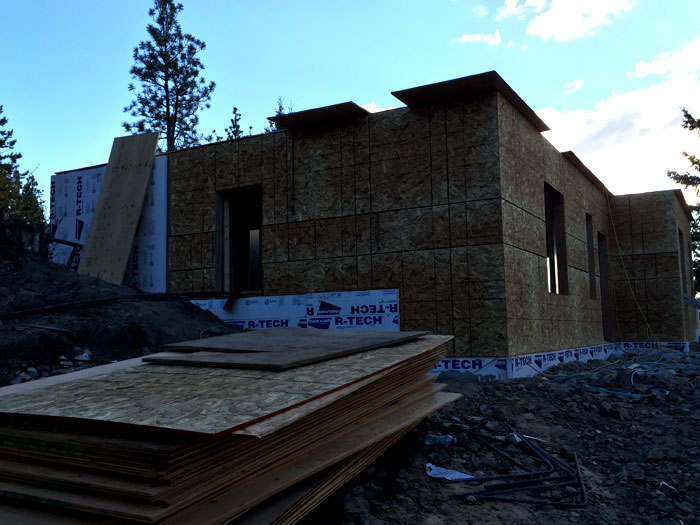
Nov 11 – Lower level exterior walls sheathed.
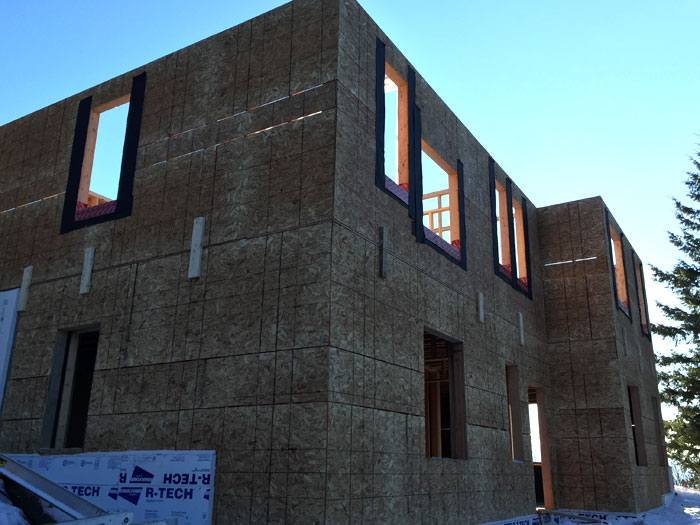
Nov 28 – 2nd floor and walls above basement framed.
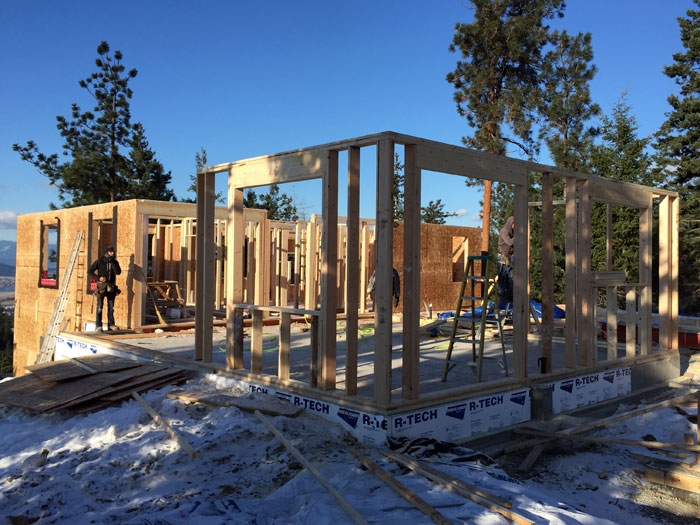
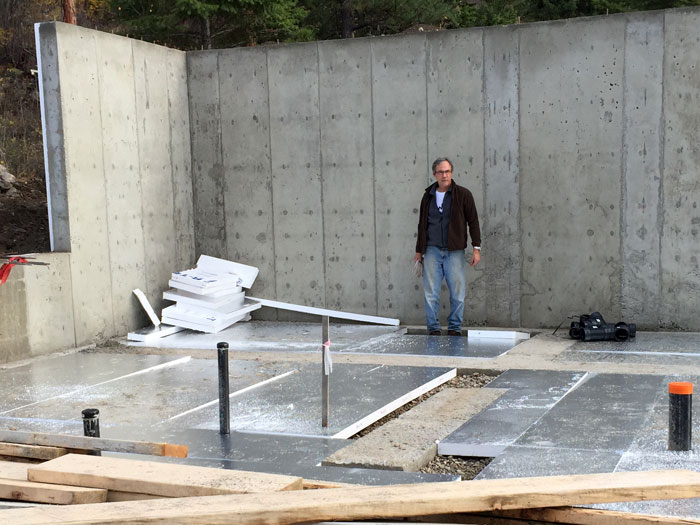
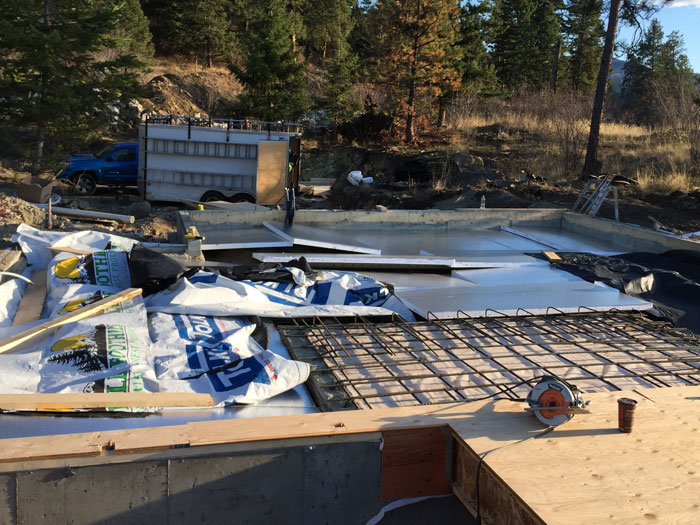
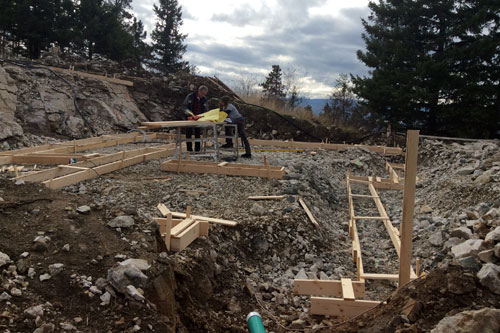
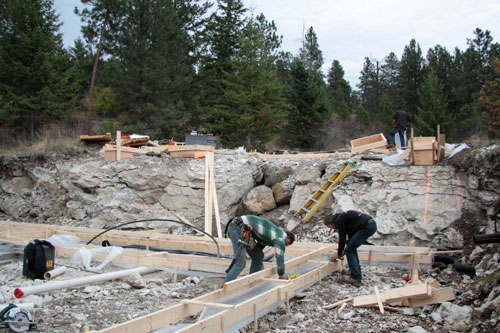
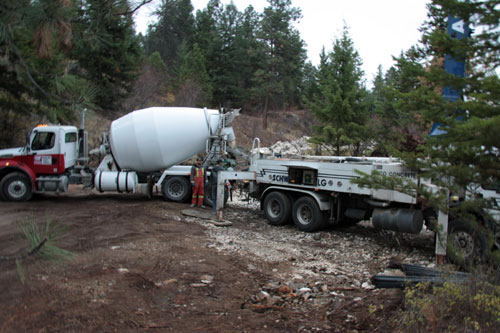
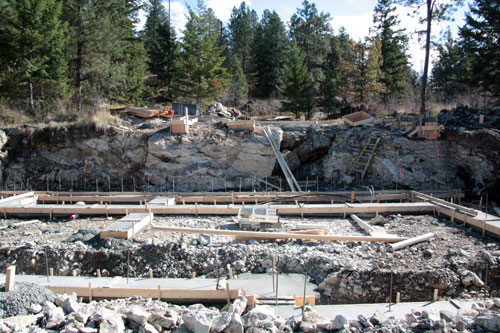
Nov 29 – Main floor framing continues (slab poured Nov 21 but then had 10″ of heavy wet snow and then cold weather for a few days).
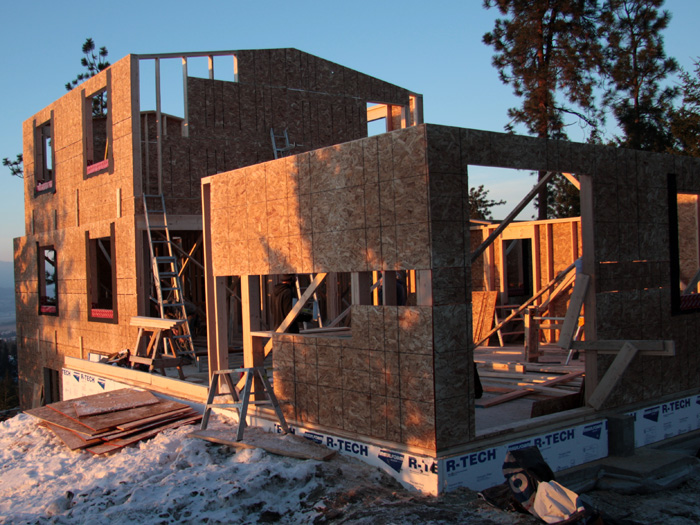
Dec 1 – Still cold. Framers almost finished main floor but we had to wait for some engineered wood for the tall wall. Finally arrived on December 9. Top floor floor and walls completed.